
How to Clean Bottom of Non Stick Pan
- Morgs Pots
- 1 day ago
- 6 min read
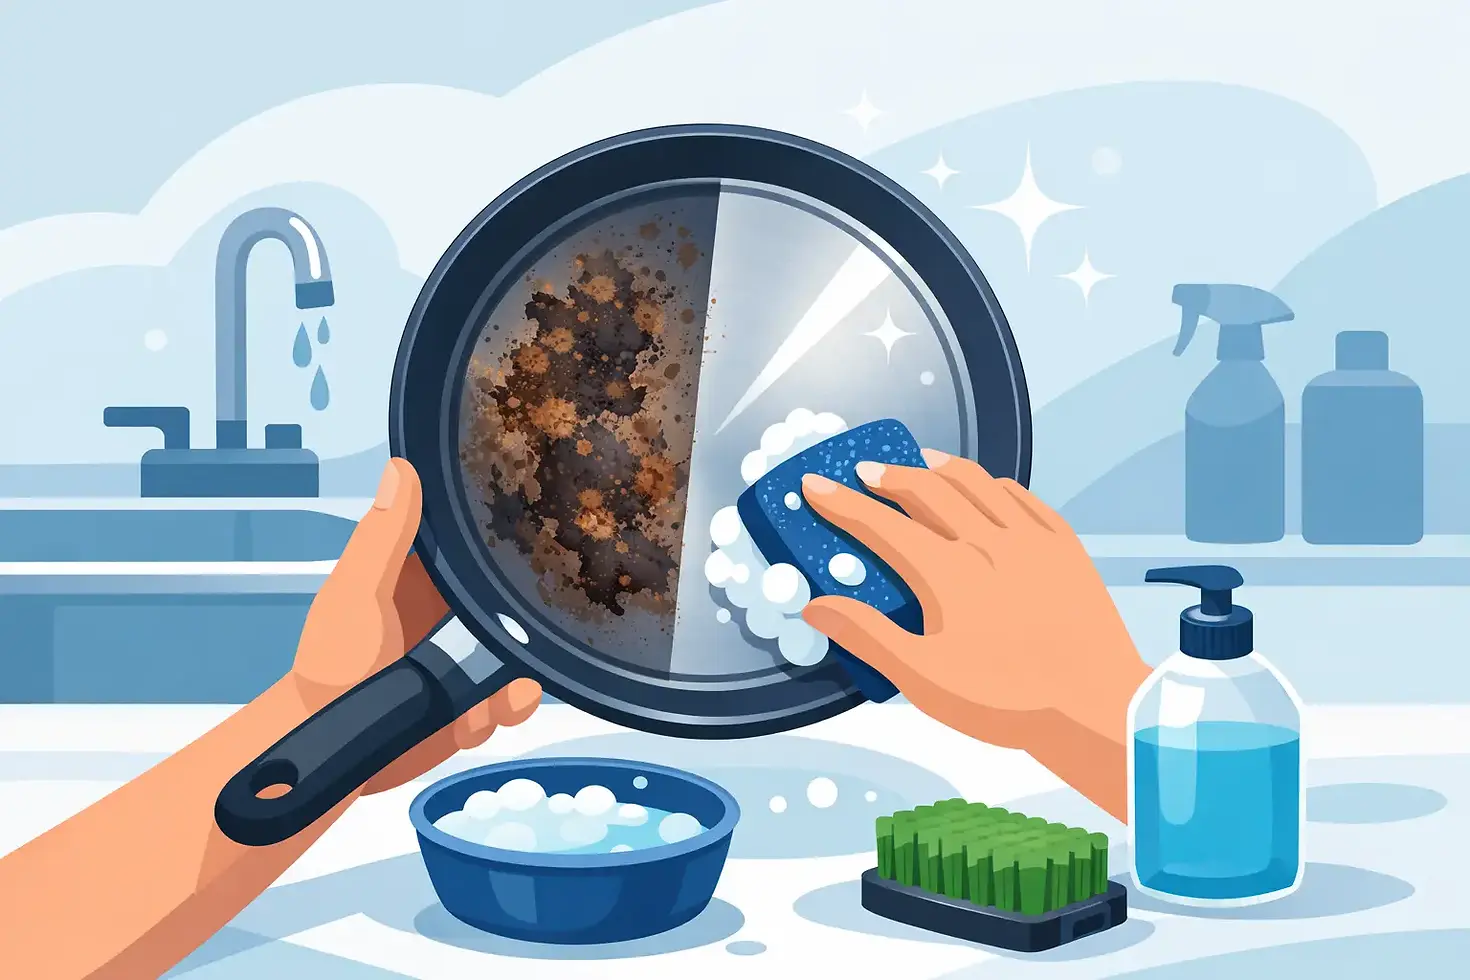
You notice it when the pan goes back on the cooktop - the cooking surface still looks fine, but the underside is dark, patchy, and a bit sticky around the edges. If you want to clean the bottom of a non-stick pan without damaging it, the good news is you usually do not need anything harsh. In most cases, the right method is less about scrubbing harder and more about choosing a cleaner that lifts grease and burnt-on marks gently.
For busy home kitchens, caravans, and campsite cooking setups, the bottom of the pan cops a fair bit. It picks up oil splatter, heat stains, soot, and baked-on residue that can build slowly over time. Left alone, that grime does more than look untidy. It can smoke on the next cook, leave marks on cooktops, and make your pan feel older than it really is.
Why the bottom of a non-stick pan gets so grubby
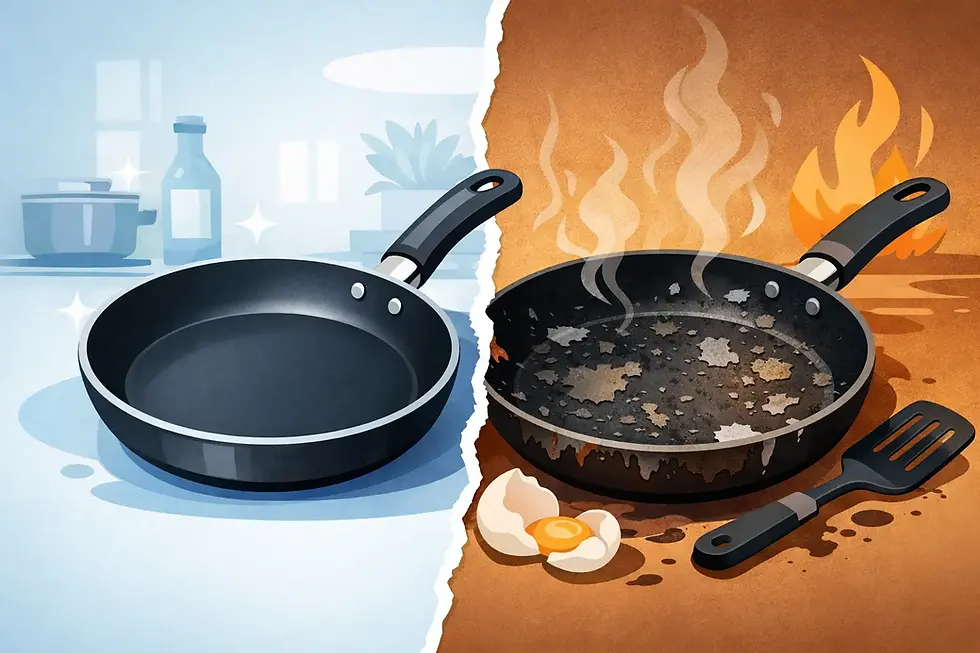
The underside of a pan deals with direct heat, but it also catches everything escaping the cook. Tiny droplets of oil settle underneath, especially if you are frying bacon, searing meat, or cooking over a BBQ. Those droplets heat up again and again, which turns them into stubborn brown or black patches.
Gas cooking can leave extra marks from the flame, while outdoor cooking often brings soot and dust into the mix. If you cook on induction or electric, you may still get heat discolouration and a ring of residue around the base. None of that means the pan is ruined. It just means the cleaning method needs to match the mess.
Clean the bottom of a non-stick pan with the safest method first
Start simple. A lot of marks that look permanent are really just layers of grease and cooked-on residue.
Fill your sink or a tub with warm water and a few drops of mild dishwashing liquid. Let the pan sit for 10 to 15 minutes so the grime can soften. Then use a soft sponge or cloth to wipe the base clean. If some areas lift easily while others stay put, that tells you the residue is baked on, not that you need to attack the whole pan with something abrasive.
This first wash matters because it removes the loose layer and shows you what is actually left. It also reduces the chance of grinding grit into the surface while scrubbing.
When warm soapy water is not enough
If the underside still has dark patches, make a paste with bicarbonate of soda and a small amount of water. You want a thick paste, not a runny mix. Spread it over the bottom of the pan and leave it on for 15 to 20 minutes.
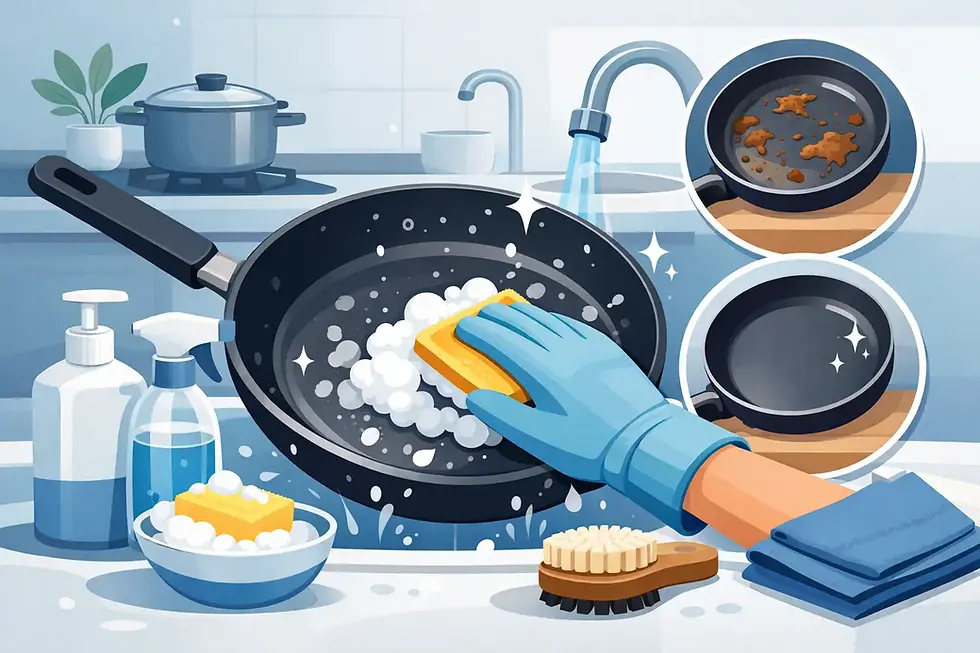
After that, use a soft sponge or a non-scratch scrubber and work in small circles. The bicarbonate of soda helps loosen stubborn build-up without being overly aggressive. For many pans, this is the sweet spot - strong enough to shift cooked-on grime, gentle enough for regular care.
If the marks are especially greasy, add a drop of dishwashing liquid to the paste. That combination can cut through oily residue more effectively than bicarbonate of soda alone.
What to do with burnt stains on the underside
Burnt stains need a bit more patience. They often form in layers, especially if the pan has seen repeated high heat. Rather than trying to remove everything in one go, it is better to work gradually.
Apply the bicarbonate paste again, then lay a warm, damp cloth over the base for 10 minutes. The added warmth helps soften the stain. Wipe, gently scrub, and rinse. You may need to repeat the process two or three times for older build-up.
That can feel slow, but it is safer than reaching straight for harsh scouring powders or metal scrubbers. Those may remove the stain faster, but they can also scratch the exterior and make the pan harder to keep clean in future.
What not to use when you clean the bottom of a non-stick pan
The biggest mistake is assuming the outside can handle anything because it is not the cooking surface. It still pays to be careful.
Avoid steel wool, metal brushes, and sharp scraping tools. Strong oven cleaners can also be too harsh, especially if they sit on the pan for too long. If a cleaner feels extreme, it probably is. A premium pan should not need rough treatment to look respectable again.
It is also worth skipping the dishwasher for heavily stained undersides if your main goal is stain removal. A dishwasher may freshen the pan, but baked-on marks often need a hands-on approach. More importantly, repeated harsh cleaning cycles can be harder on cookware over time than a quick, gentle hand wash.
A few stains are cosmetic - and that is worth knowing
Not every mark on the bottom of a pan affects performance. Some heat discolouration is simply visual. If the base feels smooth, the pan sits flat, and there is no sticky residue, a faint change in colour may not be worth chasing.
This is where a bit of perspective helps. If you cook often, especially on gas, BBQs, or while travelling in a caravan, your cookware will show signs of real use. Clean and functional is the goal. Brand-new looking is nice, but not always realistic.
Everyday habits that stop build-up getting worse
The easiest way to keep the bottom of your pan cleaner is to deal with splatter early. Once grease has been heated a few times, it becomes much harder to remove.
After cooking, let the pan cool slightly, then wipe the underside with a damp cloth and a little dishwashing liquid. That quick step takes less than a minute and stops oil from hardening onto the base. If you have cooked over a BBQ or outdoors, check for soot before storing the pan away, especially if it nests into a compact set.
It also helps to match the pan size to the burner size. Flames or heat extending past the base can darken the sides and underside faster. High heat is another common culprit. Most everyday meals do not need the pan blasted at full power. Moderate, steady heat is better for cooking control and easier on your cookware.
Storage matters more than people think
Once the pan is clean, dry it properly before stacking or packing it away. Trapped moisture on the underside can leave marks, especially if the pan sits in a bag, drawer, caravan cupboard, or camp storage tub for a while.
If you are travelling, give the pan a quick once-over before packing. A clean, dry base keeps your storage bag cleaner and stops greasy residue transferring onto other cookware. That is one of those small habits that makes setup and pack-down much easier later.
If the pan still looks rough after cleaning
Sometimes the underside has years of staining, and even a careful clean will not remove every mark. That does not automatically mean the pan has failed. If the base is still flat, stable, and cooking evenly, a few remaining stains are often just signs of use.
What matters more is whether the residue is active - sticky, flaky, smoky, or transferring onto your cooktop. If that is happening, keep working with gentle repeat cleans until the surface feels properly clean. If the mark is only visual, you may decide it is good enough and move on.
For quality cookware, long-term performance comes from consistent care rather than dramatic rescue jobs. That is especially true in real households where dinner needs to get on the table, not every pan needs a showroom finish, and practicality wins every time.
The best approach for long-lasting cookware
A clean pan bottom is really about routine. Warm soapy water first, bicarbonate paste for stubborn areas, and gentle scrubbing instead of brute force. That approach keeps the pan looking better, helps prevent smoke and residue next time you cook, and supports the kind of dependable everyday performance home cooks actually care about.
At Morgs Pots, we are big believers in cookware that works hard and cleans up well. A bit of regular care goes a long way, whether you are cooking brekky at home or getting dinner sorted on the road. Keep it simple, stay gentle, and your pan will be ready for the next meal. Happy cooking!

Comments